Pages

Showing posts with label Simply Scored. Show all posts

Tuesday, 4 June 2024

Impressionist flowers

Hello, crafting friends!
 
And hello June - yikes, isn't that half of the year already gone?!! At the Flower Challenge, we have a brand new theme for you:
 

This month we're challenging you with a sketch:
 

 and, as usual, we want to see flowers headlining in your creation! Here's what I came up with:
 

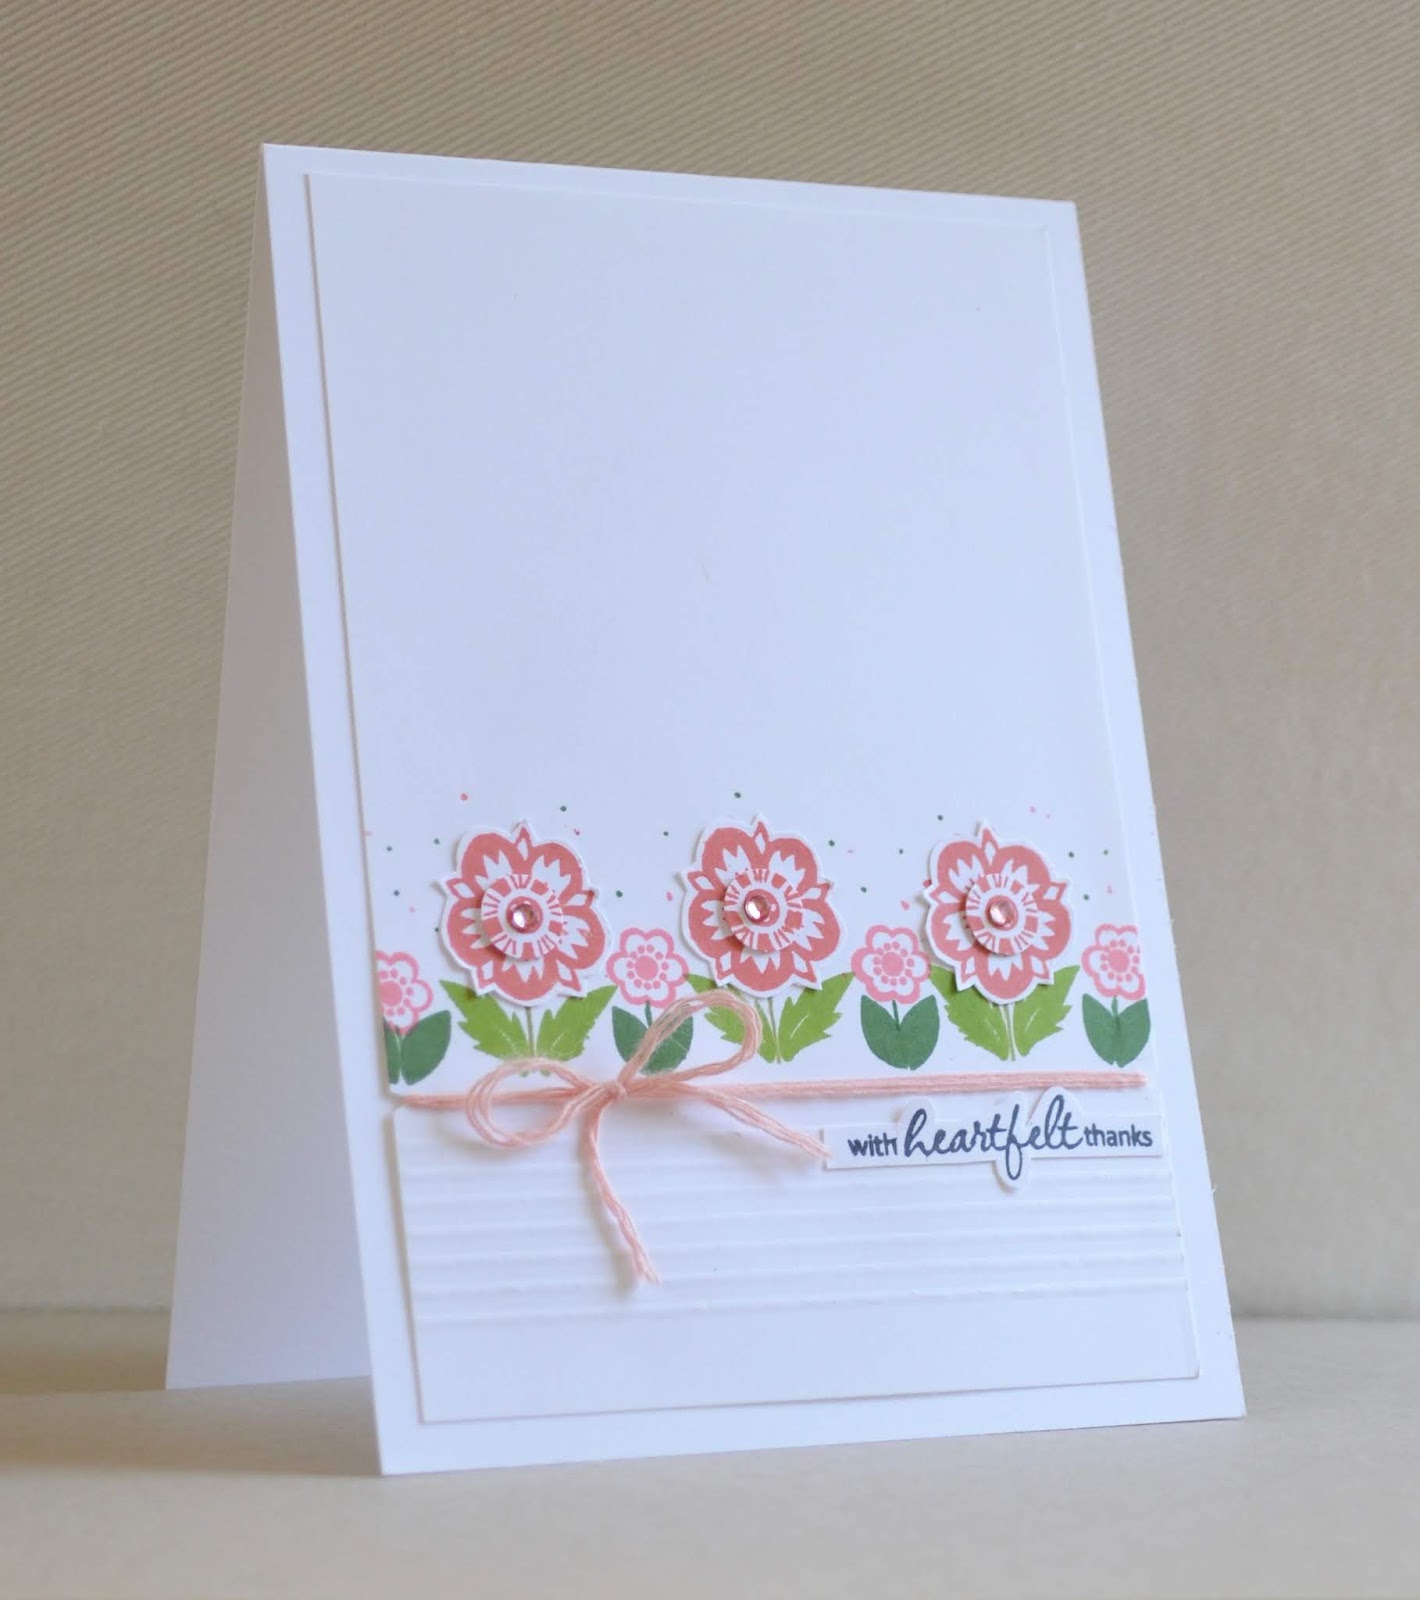
I was really intrigued by that central panel and chose to interpret it with two embossed lines on my card front inset with a piece of a favourite designer paper trimmed to fit. Before attaching the paper, I sponged it lightly with a blue-green ink, fading out towards the top.
 

The flowers and foliage are from The Greetery's Fleur Impressions. I stamped the pretty blooms in pinks and yellows and fussy cut them, positioning them over the panel and popping the largest up on dimensional pads. The sentiment was placed in my stamp positioner and inked up with blue and grey markers for an ombré effect. It was cut into a flag and tucked under the large flower. I emphasised the dreamy look with some delicate sequins from my stash.

Okay, so now it's your turn! Do hop over to the Flower Challenge blog and check out all the wonderful cards my team mates have made to inspire you. When you've made your own, you can share it with us by using the Linky Tool at the bottom of the challenge post. Have fun - we can't wait to see what you make!

CHALLENGES
I'm joining in at We Love Stamping, where the optional theme is Fabulous Florals and where the team are celebrating 15 fabulous years! What an amazing milestone! I'm also playing along at Allsorts where Anything Goes or there's an optional Many Layers challenge.


AND IN OTHER NEWS
Forgive my absence over the past week; I have been celebrating my birthday and have had lots of visitors and treats and days out! The giddy social whirl has now calmed down much to my golden girls' relief. There have been some 'You're not going out and leaving us AGAIN are you?' looks on their little faces. They are happy to have me back doing my chores around the house and garden - although they prefer to have me sat down crafting, where they can keep their eyes on me and remind of their great need for sustenance or exercise, depending on the time of day!

Sending hugs,

Monday, 30 May 2022

Bags of snippets

Hello, crafting friends!
 
Yesterday evening my sister took me out to dinner and I wanted to bring along a little thank you. I found quite a big off-cut of SU designer paper, which must have been around for quite some time, so I used it to make a little treat bag to fit a mascara I knew she had been wanting to try. There was just enough of the paper to get a thank you card out of it too.


Here's the bag and the card together. It was so quick to make them using just die cuts and no stamping.


THE BAG
I used my Simply Scored to create a simple bag shape. (For those that are interested, the paper was trimmed to 6.5" square, then vertical scores made at 1.5, 3, 4.5 and 6". The paper was turned 45 degrees clockwise and scored at 1.5".) I assembled the bag using strong red tape, popped the mascara inside and secured the top with a tiny enamel bulldog clip tied up with coordinating twine. I made a label from a scrap of vellum, cut with a stitched rectangle die by Heffy Doodle, and decorated with some leaves that were in my snippets box.
 

THE CARD
It was a tight squeeze, but I was able to trim the left-over bit of paper with another of the stitched rectangle dies. The same die was used to cut out a piece of green card from my snippets folder. I fussy cut the bottom of the designer paper along the scallop design, layered it over the green card and attached it to a card front. This was topped with a scrap of vellum cut with a stitched circle die by Waffleflower, and a sentiment die cut from a black snippet. Simple!

CHALLENGES
I'm linking these projects up at The Snippets Playground where Miss Di and Head Prefect Sarn are preparing for Jubilee celebrations; The Sisterhood of Crafters want to see Bag projects so I'm joining in there too. I'm sharing the card at Happy Little Stampers Die Challenge where Anything Goes, and at Addicted to Stamps and More where the theme is Die Cuts and/or Stencils.


AND IN OTHER NEWS
My sister and I dined at a posh restaurant where there was a 9 course 'tasting menu', and a waiter whose accent became more and more French as the evening wore on. There was even an 'amuse bouche' which made us go a bit giddy! 'Well, that certainly amused MY bouche!' we declared at regular intervals and giggled like silly school girls.


My sister had told the staff beforehand that it was my birthday and, at the end of the meal, this plate was brought out! Those little sweetmeats are handmade white chocolate fudge and passion fruit jellies - and oh my goodness they were delicious!

It was a lovely evening but I can tell you that staggering about in high heels used muscles that I had obviously forgotten I had!!

Sending hugs,

Tuesday, 7 September 2021

Thanks and leaves

Hello, crafting friends!

Welcome back to your usual bundle of Tuesday fun courtesy of CAS Colours and Sketches. It's a new month and Jenny is taking over hosting duties, and the first colour palette she has chosen is a beauty:


I don't own a single one of these colours so I've gone for the closest match I had. I mention that because if you don't have those colours, please don't feel you can't join in - just go for a close match and if you don't have suitable inks, take a look at your markers and/or card stock.


I decided the paler greish blue-green reminded me of eucalyptus leaves so I brought out my Beautiful Branches stamp set by Concord & 9th. The branch  is a lovely curved shape and I used the round leaf image to stamp foliage all the way up it, adding shading with a coloured pencil in the very dark greyish green. The card panel was trimmed to  size with a stitched rectangle die from Heffy Doodle.


I  thought a die cut sentiment would look great as a pop of pink but found that it looked a little disconnected from the leaf image. To link it more closely, I scored some lines using my score board and that did the trick.


So now it's your turn! There's lots of inspiration from my teamies over at the CAS colours and Sketches website so do hop over and take a look. At the bottom of the post, you'll  find the Linky Tool which will enable you to share your own creation. Have fun!

CHALLENGES
The theme at Stamping Sensations this month is Stamp of the Moment and I've used Beautiful Branches,  a stamp set that is rarely off my desk! I'm also linking up with Chocolate Baroque where Anything Goes this month (with Celebrations as an optional theme.)


AND IN OTHER NEWS
I heard a very silly joke about eucalyptus leaves once and I feel that this is the moment to share it with you:

Q: What did the Koala Bears say after their manicure?
A: "Eucalyptus!"

*shuffles off sheepishly to get coat*

Sending hugs,

Sunday, 14 June 2020

Card versus crafter

Hello crafting friends!

Does anyone know that scenario where you have an idea for a card and think to yourself 'I'll just quickly make that' only to find it's like a battle to do the simplest thing and hours go by as you keep having to start again? That's today's card for you. Come and see:


It's such a simple little card but my goodness it fought me! I thought I'd have a circle of inky sky and stencil clouds in it... but no. The card was having none of that and, after several tries, I topped my circle with the curly clouds from Paper Smooches' Sunny Side Up - which I ended up preferring anyway. I stamped the cloud outlines on scrap card stock, heat embossed them, added a touch of watercolour and cut them out with paper snips.


The sentiment, from the same set, was stamped in coral ink on a strip of vellum and heat embossed. The first one tore in my trimmer, much to the delight of my naughty card, but the successful second one was wrapped around the card panel and secured at the back with tape. I then debossed the edges of the panel using my scoreboard.


There is a sun in the Paper Smooches set but I wanted something smaller so I reached for my Hello Sunshine turnabout set from Concorde and 9th. I stamped it in yellow ink, heat embossed it and then cut it out. I had to use a circle punch and a pair of paper snips for this because I don't have the dies, and the card watched smugly. I popped the sun up on a dimensional, added a few enamel dots and then looked for a matching yellow card stock to mount the panel on...


... but the cupboard was bare! I could not be beaten at this point though, and sassily matched the colour to an alcohol marker which coloured the edges of the mount nicely. The card knew it was beaten and backed down, muttering resentfully.

EDITED TO ADD AN AWARD
So pleased to say this card was chosen as the winner at CAS on Friday!


CHALLENGES
The starter for this card was the sketch at CAS(E) This Sketch, so I'll link up there; I'm joining in with CAS on Friday where the theme is Sunshine and Allsorts where the challenge is Embossing - Wet or Dry; the colours I've used are Mint, Lagoon, Smoothie with additional Lemonade, which are
from Color My Heart Color Dare challenge 398.


AND IN OTHER NEWS
My youngest son and I went on a trip to a local garden centre today and I've realised that one thing about the virus is that every small outing seems SO exciting these days. The sun is back out here and it is very hot and humid, but my son appeared wearing a hoodie. "It's pretty hot," I told him. "You may not need the hoodie." He gave me a measured look. "Your comments have been noted," he said in a deadpan voice, "and will be processed within three to five working days." 

Hope you've had a great weekend!

Hugs,

Sunday, 17 May 2020

Thinking of magical you

Hello crafting friends!

How nice of the sun to go in mid-afternoon so that I could down tools in the garden and waft about in the Craft Square Metre for a bit! Come and see what I've been up to:


This simple little note card features splashes of blended pink and blue inks for that magical unicorn look! I used the Splatters stencil from Funky Fossil and Blushing Bride and Pool Party inks from Stampin' Up.


The label was stamped with a useful little sentiment from Simply Said by Clearly Besotted, then layered onto yellow card stock with dimensionals. I scored the edges of the panel before attaching it to the card front and added a  sprinkling of stars cut using Stampin' Up's Twinkle punch.

EDITED TO ADD AN AWARD
So happy that this card was chosen as a favourite at Color Throwdown!
CHALLENGES
I've been quite literal with my interpretation of CAS(E) This Sketch's sketch this week, so I think it's pretty easy to recognise. The colours are from this week's Color Throwdown challenge and I'm also joining in with Just Add Ink where they're asking us to Just Add Thinking of You.


AND IN OTHER NEWS
While I was in the garden I could hear enthusiastic noises coming from the kitchen. It was my youngest son - all his essays have been completed and handed in and he's indulging his inner chef. He can't simply cook a dish though...


... he is a young man who eats with his eyes too!

Hope you're having a good weekend.

Hugs,

Saturday, 28 March 2020

Say it with flowers!

Hello crafting friends

Yes, it's me again - it's a two post kind of a day today!

Even while this horrible virus is causing mayhem throughout the world, there are moments we can enjoy and for me, one of those moments was being invited to Guest Design at Less is More! Here's this fortnight's challenge:


Hmm. I love a one layer card but No Sentiment had me getting the old thinking cap on! Here's what I came up with:


A gift of flowers can say so many things (I'm sorry, I appreciate you, thank you, I love you...) I wonder what this serious looking bear is saying with his bouquet?! He is from Waffle Flower's Books and Coffee and normally holds a book, but I masked the book off when I inked him up. I stamped him directly onto a thick card base and, in place of the book, I added some friendly flowers from Stampin' Up's Under My Umbrella.


I coloured Mr Bear lightly with a pale Spectrum Noir marker (MB1) testing first to check that it wouldn't bleed through the card base. I then went over him with a Creamy Caramel Stampin' Up water-based marker, leaving his spectacles pale. The rest of the colouring was done using water-based markers too, which works if there aren't large areas to fill.


To make a background, I made a mask, by stamping the bear onto a sticky note, cutting it out and using it to cover up my coloured bear, then sponging the area with distress inks. To finish, I stamped a couple of tiny hearts and scored a couple of lines into the background.

Okay! It's over to you now - and I can't wait to see what you come up with! Pop over to be inspired by the oh-so-talented proper design team at Less is More and you can link your card up there as well :)

CHALLENGES
I'm linking this card up with Cards 4 Galz where the theme is Cute Animals; also The Card Concept where I was inspired by the cute bear in the Woodland Critters photo for my Clean and Simple card; and Addicted to Stamps and More where it's a Make Your Mark challenge this week :)


AND IN OTHER NEWS
Bears are cute of course but Golden Retrievers are cuter...


...and even uni students have their cute moments!!

Stay safe and well.

Hugs,

Friday, 29 November 2019

Thank you berry much

Hello crafting friends!

It's great fun making Christmas cards but sometimes it's nice to take a break from the glitz and glitter and create something else - like a thank you card that'll come in handy after Christmas for example! Come and see what I've made:


I've moved away from festive motifs but have opted for a wintery feel. The background was made by smooshing a few drops of yellow, pink and blue inks with a drop or two of water on a shiny surface, then dragging a panel of card stock through it.


Once the card stock was dry, I inked up the berries image in Stampin' Up's Enjoy Life stamp set with Crumb Cake ink and used a red marker to go over the berries before stamping three times along the bottom of my panel.


The sentiment is in a nice bold font and is from a retired Stampin' Up set called Letterpress Winter. I stamped some birds from Take Flight 2 by Inkylicious to add a bit of upward movement, and finished the card by scoring a frame round the edge of the panel before mounting it onto my card base.


CHALLENGES
I was inspired to make this card when I saw the challenge at Allsorts Challenge this week - Thank You or New Year and I shall also link up with Addicted to Stamps and More where it's Clean and Simple week.


AND IN OTHER NEWS
It took very little time to make today's card but it took a LONG time hunting for the bird stamp when I cleared up! I wandered about with a torch and a magnifying glass, looking like some kind of comedy investigator, but I did eventually find it, right on the edge of the sink where I'd been cleaning the stamps. Thank goodness! Sometimes the smallest stamps are the most treasured aren't they?

Have you ever lost a clear stamp and then amazingly found it? Do tell me your miracle stories :)

Hugs,

Thursday, 26 September 2019

Crafters really are the best!

Hello crafting pals!

Back in the summer, my lovely Blogland friend Sylvie sent me some stamps by Crafty Individuals, a UK stamp manufacturer I'd never come across before (do pop over and have a look at their blog!). Naturally, I settled straight down with some of the stamps to make a card to say thank you! Come and see:


These flowers from CI-293 are so unusual. They come on a large sheet that you can separate into individual stamps and what I love about them is that the designs come in several sizes - always so useful.

I used coral colours to stamp the flowers onto a card panel. I also stamped them on scrap card so that I could punch the centres out with a circle punch and pop them up on dimensionals.


I added another smaller flower from the set between the large blooms, and gave all the flowers pairs of leaves from Flower Arrangement by Clearly Besotted (retired). Lines were scored below the flowers to ground them and I added a Clearly Besotted sentiment (from Elegant Butterflies). The card was finished with some coloured gems, some dots stamped with a scoring tool, and a length of coral twine tied up in a bow.

Thanks again Sylvie for your lovely gift. I adore these stamps!

I'm linking this card up with The Flower Challenge where this month Anything Goes!
Edited to add: Er... no I won't. I've only flippin' well missed the deadline - again!


AND IN OTHER NEWS
Now that the cooler weather has settled in, I'm finding it hard to find something to wear. Do you have this trouble? This kind of weather must have happened before, so what did I wear then? This happens to me every time the seasons change! I think I might have to keep some kind of clothes diary - it's not as if I don't have a wardrobe groaning with clothes!

If you have the answer to the clothes conundrum, do let me know in the comments below. And how about Crafty Individuals? Have you come across their stamps before? Are you a fan? I'd love to hear what you think.

Hugs,

Tuesday, 10 September 2019

Double Fluffy Furballs

Hello crafting pals!

It's probably just as well that while I was making today's cards, my charming assistant, Eva the Golden Retriever, was having a gentle snoozle. She'd had a busy morning swooshing post it notes off the coffee table with her tail. Every time she did it, I was gripped with the giggles and that made her tail wag harder and harder until there was a snow storm of post it notes and I was helpless with laughter! Anyway, I digress - come and see my creations, which feature *mouths words silently* a pussycat:


Yes, not just one card but two! It's because I'm enthusiastically playing along with the Twofer Card Challenge in which we are asked to make two cards, each for a different occasion but using the same stamp. This month the theme is Critters so I've chosen one of the cats from a very cute stamp set called Fluffy Furball by Clearly Besotted.

The first card I made was a birthday card:


I stamped Harry (I've named him after the red-headed prince), added a doodled smile and a paw, coloured him with Spectrum Noir markers and cut him out. I gave him a paw because he had to hold this balloon which I made by colouring inside a circle mask with the markers and adding the bit you blow into.


I had to draw a cushion as I don't have a stamp for that (does ANYONE have a cushion stamp?!!) Harry was asked to sit on the cushion against a scored background which reminded me of a venetian blind - cats always sit in the window don't they! A few punched stars and a sentiment from Altenew's Birthday Greetings and the card was done!

My second card is a Christmas card and Harry has had a makeover for this one:


We'll call him Robinson (after Smokey Robinson!) I liked the idea of lots of Christmas presents coming into the house and Robinson having to make his way out from behind them.


There he is, looking a bit "What did you put these here for?!" I had great fun making the presents out of snippets of left-over Christmas papers from yesteryear. They were decorated with tiny punches and bits of washi tape.

Do come and join in at the Twofer Card Challenge! It is so much fun, coming up with two different cards to make with the same stamp!


AND IN OTHER NEWS
When Eva was a puppy, I trained her not to chase cats. Whenever we came across one, I'd say "Have you seen the pussycat?" and deliver a treat into her mouth. Eventually, she would look at me when she saw a cat because she'd know there was a nice treat coming. The instinct to chase is still there though and if she were off lead and a cat took off in front of her, all the treats in the world wouldn't stop her! She is a dog after all :)

Do you have a dog? Or a cat? Or maybe both? I'd love to hear about them in the comments below :)

See you soon,