

First cut a 12 cm square of paper. Check out the gorgeous checked design I'm using from the Season of Style pack - gorgeous! Now score at 5.5 cm and 11 cm. Turn the paper 90 degrees anti-clockwise and score at 3 cm and 11 cm...

... and you should end up with something that looks like this! Now you need to cut some parts of the paper away and rather than tie myself up in knots trying to explain in words, I've shaded the bits that need to go:

Paper snips do the job very efficiently! (I've just realised that I inadvertently turned the paper 180 degrees in this photo!)

Decide which side of the paper you want to show (it's that beautiful check for me although there is a fabulous pattern on the other side too!) and fold all the creases crisply with a bone folder (you might notice that mine has seen a lot of action!) Hopefully you can now see how this is going to turn into a packet now.

I like to angle the flaps at the top and bottom with my paper snips but you might prefer to curve the corners with a corner rounder instead...

... or as well! And yes, that IS the new envelope board (not so new actually - it's already had plenty of use in the Crafting Square Metre!) and I am in love... sigh!

Put some sticky strip on the 1cm flaps (you can see I added some on the top one here and I'm just about to add some to the flap on the left). Then remove the red backing tape and stick together...
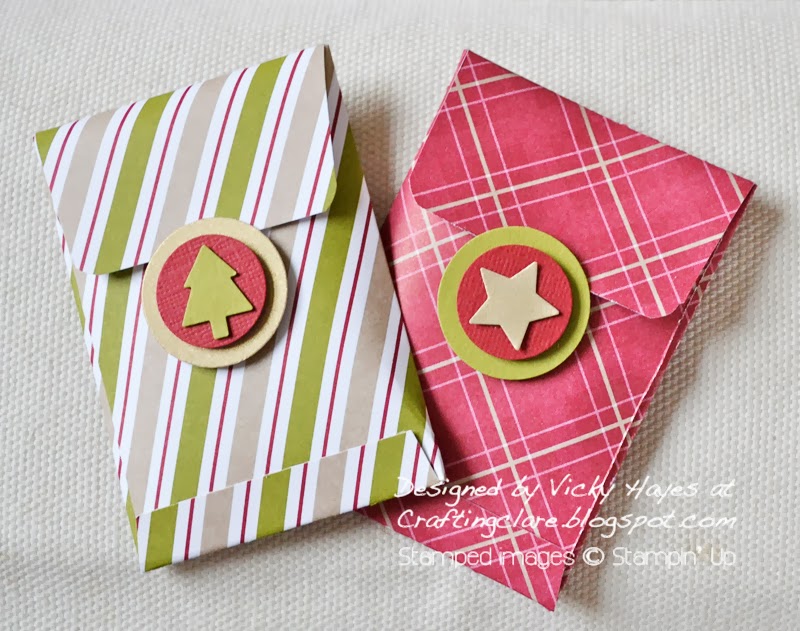
... like this, adding a layered 'button' on a dimensional so that the flap tucks behind it neatly to fasten. I made my buttons with coordinating card stock, the 1" and 3/4" circle punches and the Merry Minis punch pack.
Here's everything you'll need to make this project
Card stock: Gold foil sheet, Cherry Cobbler textured, Old Olive smooth
Other: Season of Style designer paper, Stampin' trimmer, 1" and 3/4" circle punches, Merry Minis punch pack, paper snips, bone folder, corner rounder, Sticky Strip, dimensionals
but if you have any queries, or prefer to speak to me, I'm always happy to help.
See you tomorrow,

Mmm . . . me likey! Might have to have a go at this at some point in the near future!
ReplyDeleteHugs, Sarn xxx
Great little gift wallet Vivky and thank you for the tutorial
ReplyDeleteAnne
What a super idea! And a great way to use designer paper (of which I have too much)!
ReplyDeleteHi Vicky
ReplyDeleteThanks for the tutorial.....
Hugs Sylvie xx
Great tutorial thank you
ReplyDeleteAnne
If you're measuring in inches:
ReplyDelete5 inches square
Score 2 1/4 and 4 1/2
Turn and score 1 1/4 and 4 1/2
sally