Pages

Showing posts with label notecards. Show all posts

Saturday, 12 August 2023

A glimpse of autumn

Hello, crafting friends!
 
It's Saturday so it's time to inspire you to make a clean and simple card with just one word at Addicted to CAS! It was my turn to choose the code word this time and I've gone for something that enables you to keep going summer crazy, or think ahead to autumn if you adore those russety colours, OR get a head start on your festive cards with some winter foliage!! 
 

Yes, I think I've covered all bases here :D
 
I recently took delivery of an Altenew set called Wallpaper Art which I couldn't wait to ink up! It was the leaves that attracted me with their mix of outlines and solids - so dimensional! Here they are having their first outing:
 

I stamped the front leaf group in brown ink, coloured the outline leaves with yellow, green and rust coloured pencils, masked off the group and stamped the smaller solid leaves over the top in rust ink. When I took the mask away, the rust coloured leaves appeared to be behind the main group. So simple!
 

The sentiment is a favourite from Uniko's Simply Said Blocks, stamped in brown ink, snipped out with scissors and mounted on dimensional pads.
 
I really hope this has inspired you to have a go! Do hop over to the Addicted to CAS blog where my team mates have plenty more inspiration for you. You'll find the Linky Tool at the bottom of the post and you can use it to share your own creation with us. Don't forget to keep your creation clean and simple with plenty of clear space! We can't wait to see what you make! 

CHALLENGES
Since this is the first outing for this gorgeous stamp set, I'm sharing at Darnell's NBUS Challenge, the place for showcasing your Never Before Used Schtuff! I'm also joining in at Just Add Ink where the theme is Just Add Clean and Simple; also Color Dare 561 where I've chosen the bottom row Paprika/Shortbread/Mocha and have added in Honey Butter and Pine; I'm also playing at A Place to Start where Anything Goes with an optional twist of  Leaves or Trees. 
 

AND IN OTHER NEWS
Thank you so much for your lovely messages wishing Eva a speedy recovery. It's always such a worry when things go wrong with dogs' paws but I am pleased to report that Eva has suffered no set backs in her recovery from the fungal nail infection and...
 
 
... things are going on pretty much as normal!

Sending hugs,

Wednesday, 11 February 2015

Ways to use designer paper - Painted Blooms by Stampin' Up

Never underestimate the pleasure of opening a pack of designer paper and thinking up ways to use it - especially when that pack of designer paper is Stampin' Up's Painted Blooms! Every single paper in the pack is breathtakingly beautiful. Come and see how I used one of the papers today:


This is a very simple way to use the floral designs: I cut a piece to use as the background, added a sentiment strip and made a topper by fussy cutting a flower and leaves out of a spare scrap of paper and mounting them onto a punched circle.


Here's a close up of that where you can see that mounting the cut-out flower onto the punched circle really focuses the eye onto it. You can see other little details too - the scored edge of the sentiment strip and the candy dot decorating the flower which matches the accents in the paper.

BUY THE SUPPLIES TO MAKE THIS CARD NOW!
Click on any item to be transported to my online shop!
Don't forget you'll get a free Sale-a-bration item for every £45 you spend

Simply Scored
£25.95

My shop is open 24/7 so you can buy Stampin' Up products from me any time, day or night.
If you have any queries, or prefer to speak to me, I'm happy to help.
You can contact me by email or phone on 01280 820593.

Those of you who are following the relationship between my darling old cat Tuppence and the young canine pretender Eva will be glad to know that an uneasy truce has been called. Tuppence has moved her domain high up on window sills, the backs of furniture and my dresser where Eva gazes wistfully at her while she preens. But sometimes, when Eva's asleep, Tuppence comes down to examine her which reminds me of those scenes from Tom and Jerry!

See you tomorrow for another fabulous Stampin' Up artisan design team blog hop!

Tuesday, 3 February 2015

A little bird with Moon Lake from Stampin' Up

Living here in the heart of England, I'm lucky enough to be able to step out of my door into glorious countryside and I'm always attracted to stamps with a nature theme - like Moon Lake from the Stampin' Up spring/summer catalogue. Here's a note card made with the cute little bird from the set:


I sponged a background using a mask cut with the 2 1/2" circle punch before stamping this beautiful image.


It was fun to colour using the Stampin' Write markers!


A simple embellishment can really lift a card. I gave this one a double row of pierced holes using one of the Essentials piercing templates, then added a paper clip tied up with the new Painted Blooms twine (you get three spools in the pack and this one is gorgeous Wild Wasabi.) 

BUY THE SUPPLIES TO MAKE THIS CARD NOW!
Click on any item to be transported to my online shop!
Don't forget you'll get a free Sale-a-bration item for every £45 you spend


My shop is open 24/7 so you can buy Stampin' Up products from me any time, day or night.
If you have any queries, or prefer to speak to me, I'm happy to help.
You can contact me by email or phone on 01280 820593.

Sometimes it feels as if I'm feeding animals all day! We have lots of blue tits, sparrows, robins, and other small birds visiting the feeder in the garden and I seem to have cats and dogs queuing up for meals all day! The cat seems to wait until the busiest moments and then turns up in the hallway just like the guy who never gets his drinks order in Fawlty Towers!


Thanks for visiting today. See you tomorrow,

Wednesday, 25 June 2014

Sneak peek - introducing the new Blendabilities from Stampin' Up

I've definitely got my colouring hat on at the moment! There was yesterday's watercolour moment and today (I am quite literally beside myself with excitement!) I've been playing with my new blendabilities from the upcoming Stampin' Up annual catalogue 2014-15. Come and see:


This chintzy floral panel was my first practice session but I quite liked the result so I turned it into a note card! It was stamped with leaves and flowers from Stampin' Up's gorgeous Peaceful Petals set and coloured with the Coastal Cabana and Old Olive assortments of blendabilities. By the way, Peaceful Petals is from the Stampin' Up spring/summer catalogue and will not be carrying over to the new annual catalogue so if you love it as much as I do, get it while you can!


It's great fun shading with the colours in each assortment - I started with little bits of the dark colour, shaded out with the mid tone and blended everything with the lightest colour. Once the flowers and leaves were coloured I sponged around them with So Saffron ink.


So what do I think about the new Stampin' Up blendabilities? Put simply: I adore them! They blend perfectly with not a streak in sight and come in my beloved Stampin' Up colours. That would've been enough for me but there are extra design features too: they are double-ended with a brush tip on one side and a fine tip on the other; they are square so they don't roll off your desk; they have special tight-fitting caps so they won't dry out. You get three tonal shades in a pack for just £10.95 which I think is a bargain, and there's a pack of 6 skin tones and a colour lifter too. My advice is to put them right at the top of your wish list!

Click here for more Peaceful Petals inspiration

HERE'S WHAT YOU'LL NEED TO MAKE THIS CARD
(Click on each item to find it quickly in my shop) 
Ink: Coastal Cabana, Old Olive
Markers: NEW Blendabilities in Coastal Cabana and Old Olive (available 1st July)
Click above to place an order any time, day or night,
but if you have any queries, or prefer to speak to me, I'm always happy to help.
You can contact me by email or phone on 01280 820593.

Some of the items in the annual Stampin' Up catalogue are retiring to make way for new products. Don't miss out on your favourites! Some of these items have been discounted too - check the lists by clicking on the banners below:


When my children were little, they weren't fussed about colouring books. Every now and again though, I'd get one out and we'd sit and colour a picture in together. They say now that they didn't really like colouring in at all but they did enjoy sitting down and having a good old chat!

See you tomorrow.


Wednesday, 19 February 2014

Peaceful Petals on the tiles

I'm always banging on about the stamp-a-majig and how brilliant it is. It helps me to be a neater stamper, with straight sentiments and accurate image positioning,  but it also enables me to do more with my stamps - make a new sentiment for example, by combining words from different stamps or add part of one image to another using markers. The repeat stamping on today's card certainly wouldn't have been possible without a stamp-a-majig - come and see:


Stampin' Up's Hello Lovely set contains loads of gorgeous images which look great stamped together collage style but the tile image was the first thing I noticed. To me, it was just crying out to be repeat-stamped to make a bold background! Enter the stamp-a-majig!


Rich Razzleberry was out on my desk so I ended up with a lovely zingy tiled look! What on earth would hold its own on top of that I wondered... Well, how about this beautiful flower from Peaceful Petals? Not looking so ragingly peaceful in hot yellow is it?!

• If you'd like to know how to use a stamp-a-majig, take a look at my new video tutorial - it will be featured here on my blog tomorrow!

HERE'S WHAT YOU'LL NEED TO MAKE THIS CARD
(Click on each item to find it quickly in my shop) 
Stamps: Hello Lovely wood or cling, Peaceful Petals wood or cling
Click above to place an order any time, day or night,
but if you have any queries, or prefer to speak to me, I'm always happy to help.
You can contact me by email or phone on 01280 820593.

CHOOSE A FREE SALE-A-BRATION GIFT WITH EVERY £45 YOU SPEND (excluding p&p)

Have you noticed that I'm using a lot of yellow lately? I must be feeling really positive - well, either that or a bit banana-ish! Which reminds me of when the boys were little and my eldest couldn't say banana but said sublana instead, so of course we all said it!  I used to amuse them by springing out from behind doors a la Starsky and Hutch with a banana in my hand instead of a gun. "Freeze!" I would shout convincingly. "I've got a sublana and I know how to use it!"

See you tomorrow,


Thursday, 23 January 2014

3 minutes with a Sale-a-bration freebie from Stampin' Up!

Are you ready for another Sale-a-bration sneak peek?! It's Three Minute Thursday here today, so I've come up with a quick, one-layer number using the beautiful Petal Parade. Come and see:


This may be my favourite of the stamp sets... but it's a close call! I certainly love these stylised images and they're perfect for collage-style stamping as in this one layer card.


You can make these images look soft and feminine using pastels but I've gone for an edgier look here using a retro colour palette and a very modern font for the sentiment. It comes from a brilliant new set called Geometrical which you'll find in the new spring/summer catalogue out next Tuesday.

I think I've just got time to link this card up with One Layer Wednesday, where the challenge is to restock your stash with one layer cards.

Here's what you'll need to make this project
Stamps: Petal Parade (Sale-a-bration freebie), Geometrical (available 28th Jan)
Ink: Rich Razzleberry, Blushing Bride, Summer Starfruit classic inks plus stazon black
Card stock: Very Vanilla
Other: stamp-a-majig

Crafting Clare online shop, shopping with Vicky Hayes, Stampin Up clearance rack
You can order from my online shop any time, day or night,
but if you have any queries, or prefer to speak to me, I'm always happy to help.
You can contact me by email or phone on 01280 820593.

I often talk to myself while making cards. "Hmm," I muttered the other day. "I wonder what would be a darker version of Blushing Bride... "My daughter overheard this and joined in. "I should think it's full-on, embarrassed bride," she said helpfully, "walking down the aisle with her dressed tucked into her knickers!"

See you tomorrow,

Friday, 23 November 2012

Inspired by an early morning!
At the beginning of the week I had to get up practically before I went to bed to take our lovely French exchange student to the train station for his return home. It was cold and dark and I was not at my most cheerful, but as we left the house my spirits lifted at the sight of the sky as the sun was rising. It obviously stuck in my mind because today's card happened a day or two afterwards!


The sky really did look like this - bright orange in a strip at the bottom with the light of the sun illuminating the line of the horizon, and a purplish grey above it. It was magical. You can see some gorgeous photos of similarly dramatic sunrises here taken by my lovely blogging friend Irene.


I started by stamping the trees in Early Espresso ink onto my card stock panel. Then I made two masks by stamping the trees on a post it note and cutting along the horizon with my sharp paper snips. One half was held over the land so I could sponge in the sky, then the other half was used to mask the sky while I sponged in the ground. Sponging over the stamped trees gives them a misty sort of look and I inked up the trees again (using a marker this time, so I could use just the trees, not the ground) and stamped them again in the foreground. The scene was mounted onto black card stock to make the sky appear to glow.


I thought this design would make a good notecard, so I added the hello sentiment from Easy Events and  pierced a little home for it using my piercing template. I'm so excited about piercing at the moment - it adds detail but in a really nice, subtle way.

SPECIAL OFFER: If you love the effect of piercing too you might be interested to hear that the festive piercing templates come absolutely free when you buy the Ornament Keepsakes stamp set and the Candlelight designer paper! Check here for details.

Here's what you'll need to make this card
Stamps: Lovely as a Tree, Easy Events (sentiment)
Ink: Always Artichoke, Pumpkin Pie, Wisteria Wonder, Elegant Eggplant, Marina Mist, Early Espresso
Card stock: Whisper White, Basic Black
Other: Piercing template, piercing tool, markers, stamp-a-majig, paper snips
I'd be delighted to order any of these items for you and have them delivered straight to your address in the UK, France, Deutschland, Nederland or Osterreich. I'm committed to providing excellent customer service and am always happy to offer help and advice. To place your order, just send me an email or give me a call on +44 (0) 1280 820593. Check out current special offers here.

Today's card reminded me of a nursery rhyme I used to read to my children when they were small:
One misty moisty morning
When cloudy was the weather
I chanced to meet an old man
Clothed all in leather
Clothed all in leather with a cap under his chin
Singing how d'you do and how d'you do and how d'you do again.
Does anyone remember it? The children and I were amused by it and whenever it's a damp, foggy day, we always refer to it as a misty, moisty morning in our family!

Hope you have a lovely weekend with no mistiness or moistiness - but if you do, don't worry, there are always more Christmas cards to be made!

See you very soon,


Thursday, 27 September 2012

Make a Mitten - in three minutes

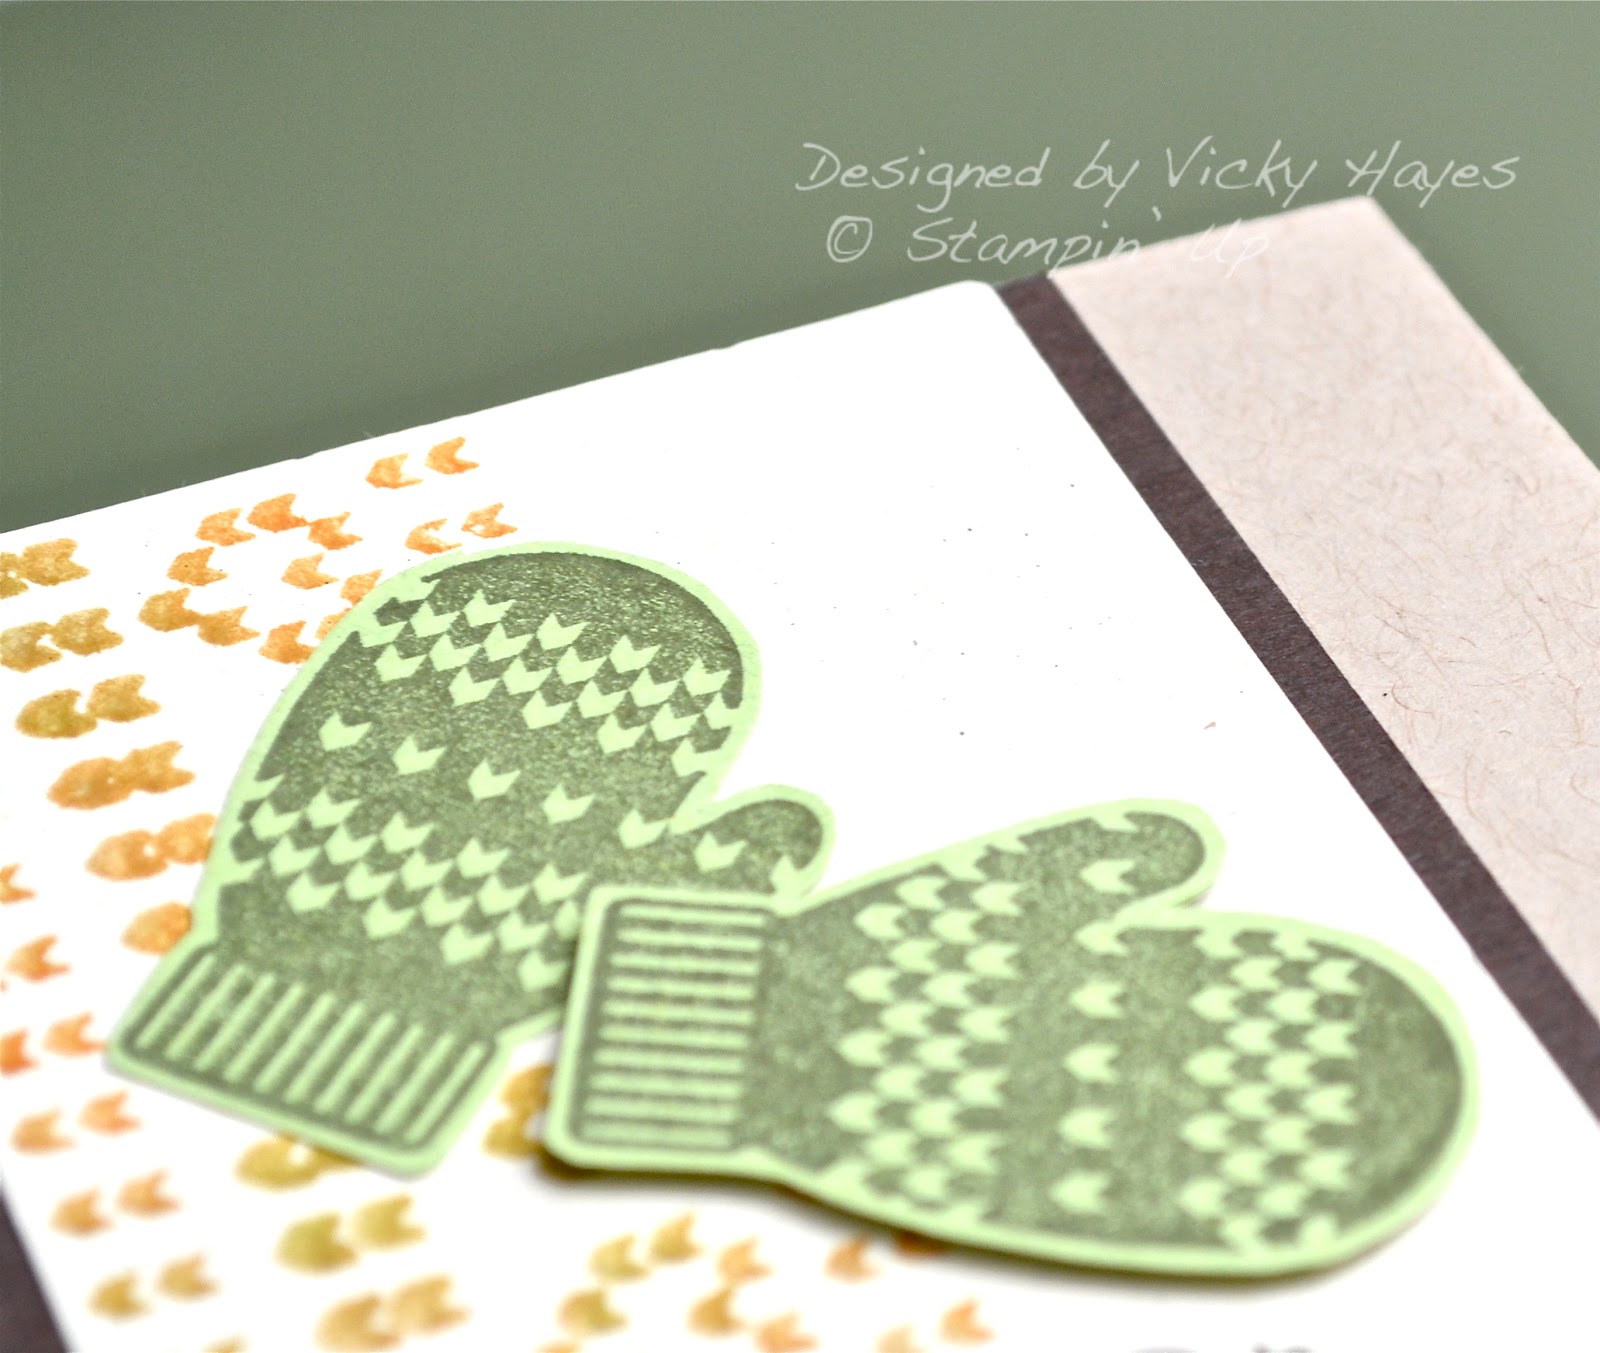
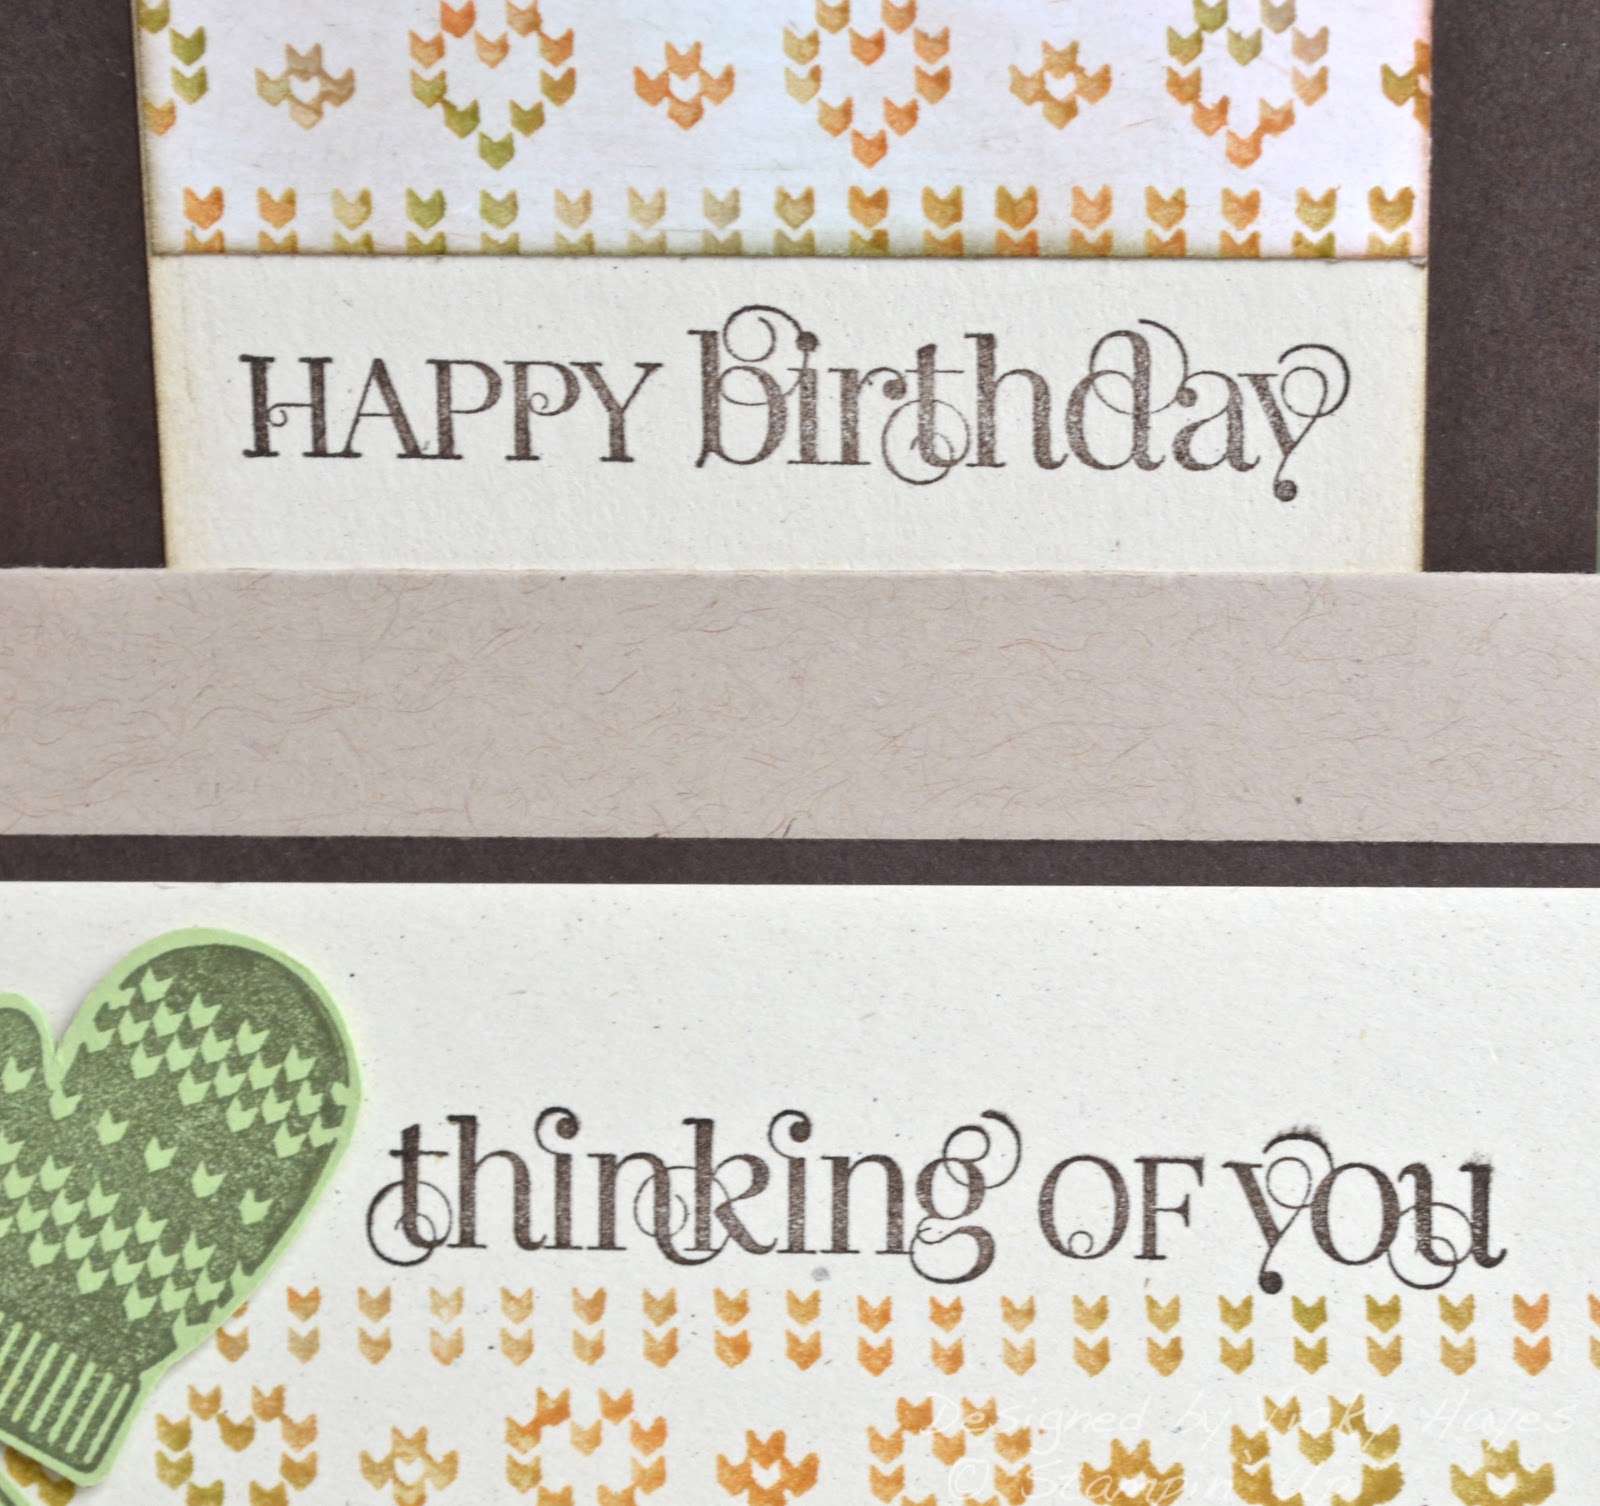
No, not an actual mitten! Make a Mitten is the name of one of the new stamp sets in the autumn/winter catalogue - you may have seen the card I made yesterday using it. Making cards with this set and its coordinating wheel are a lot quicker than getting the knitting needles out and they can be distinctly autumnal as well as wintery. Come and have a look:


I made my own multi-coloured ink pad for these cards by folding a baby wipe in four and covering it in drops of ink from my re-inkers, but once I'd done that these cards were very quick: a couple of swipes on the homemade pad with the wheel, stamp and cut out the mittens, add the sentiment and assemble!


The mittens on this design were stamped in Always Artichoke on Certainly Celery card stock. I cut mine out with paper snips - it's quite quick - but, if you hate fussy cutting, there is a punch which cuts out the right-hand mitten and you can always stamp onto the punched shape to get the left-hand one.


The second design is perfect for a November birthday and suitable for a male too! I sponged over the background on this one...


... and topped it with mittens stamped in the homemade pad, cut out and sponged for a bit of definition.


The sentiments on both cards are from Curly Cute - which I think is quite oddly named. I can see the curliness but what's cute about it?! But then again, I'm sure people say that about me...

Here's what you'll need to make these cards
Stamps: Make a Mitten, Curly Cute (sentiment), Nicely Knit (wheel)
Ink: Pumpkin Pie, Old Olive re-inkers, Early Espresso and Always Artichoke ink pads
Card stock: Crumb Cake, Early Espresso, Naturals Ivory
Other: Paper snips, stamp-a-majig, Mitten builder punch (optional)


I'd be delighted to order any of these items for you and have them delivered straight to your address in the UK. I'm committed to providing excellent customer service and am always happy to offer help and advice. To place your order, just send me an email or give me a call on 01280 820593. Click here to view my regularly updated lists of retiring stamps and accessories, some at up to 40% discount - Sunday 30th is the last day to order from the Retirement Lists. 

I had a go at knitting a jumper once. It was an interesting experience - I ended up with a sleeve. I never wore the sleeve. I think that sums up that little foray into the noble art of knitting!

I'll be back tomorrow with an experiment with one of my older sets. Do come back and see if it's worked!


Friday, 7 September 2012

Happiness Shared with Watercolour Wonder crayons

I've been continuing my experiments with the Watercolour Wonder crayons and I'm loving them! One of the things I wondered about was how they'd look on darker colours of card stock than white or cream. Well I've used them to make a one layer card on Crumb Cake card stock - come and see the result:


Can you believe Happiness Shared is retiring at the end of this month? It's the most beautiful set and I for one am not ready to let it go! Anyway, I started by stamping the script background from French Foliage over a mask I'd made out of the Happiness Shared rose, then I used my stamp-a-majig to stamp the rose into the space left by the mask.


Pretty in Pink and Pink Pirouette crayons were used to colour the rose petals with So Saffron for the centre, while the leaves were coloured in Wild Wasabi and Certainly Celery. I used an aquapainter to blend the colours and highlighted with Pear Pizzazz and More Mustard markers when it was dry. I'm quite pleased with the translucent chalky effect.


This lovely sentiment is from my Tea Shoppe set.

I made a card very similar to this a little while ago and thought you might be interested to compare the difference in the colouring. Just click on the image for a closer look.

Here's what you'll need to make this card
Stamps: Happiness Shared (retiring), French Foliage, Tea Shoppe (not available)
Ink: Early Espresso, Basic Grey
Card stock: Crumb Cake
Other: Watercolour Wonder crayons in Subtles, markers, stamp-a-majig

I'd be delighted to order any of these items for you and have them delivered straight to your address in the UK. I'm committed to providing excellent customer service and am always happy to offer help and advice. To place your order, just send me an email or give me a call on 01280 820593. Click here to view my regularly updated lists of retiring stamps and accessories, some at up to 40% discount. 

My daughter attended her first day of sixth form looking like a supermodel yesterday while my youngest son broke my heart by setting off with a huge bag on his back looking no bigger than my thumb! He bounced back home though and told us he'd had a great day, so of course I needn't have worried at all. My eldest son got an extra day off, to his deep satisfaction, and spent the first half of it in his pit bed until I hauled him out by the ears. (Not really to anyone who's just about to call Childline!) When we were on holiday, he answered "lunch and a trip to Poundland [where he buys cereals]" when my husband asked him how he'd like to spend the afternoon. "Is that all you want in life?" said my outraged husband. "No!" said my son indignantly. "I need my xBox too and some sleep!"

Thanks for visiting me here, I love reading your comments and hearing what you think. Have a lovely weekend and I'll see you very soon.