Pages

Showing posts with label Hello Again. Show all posts

Friday, 5 August 2011

Hello Again birthday - again!

Last week I got my Hello Again stamp set out for the first time in a long while. Well, I fell in love with it all over again and had a lovely time experimenting with it. Here's another of the cards I made when I was coming up with a design for my niece:


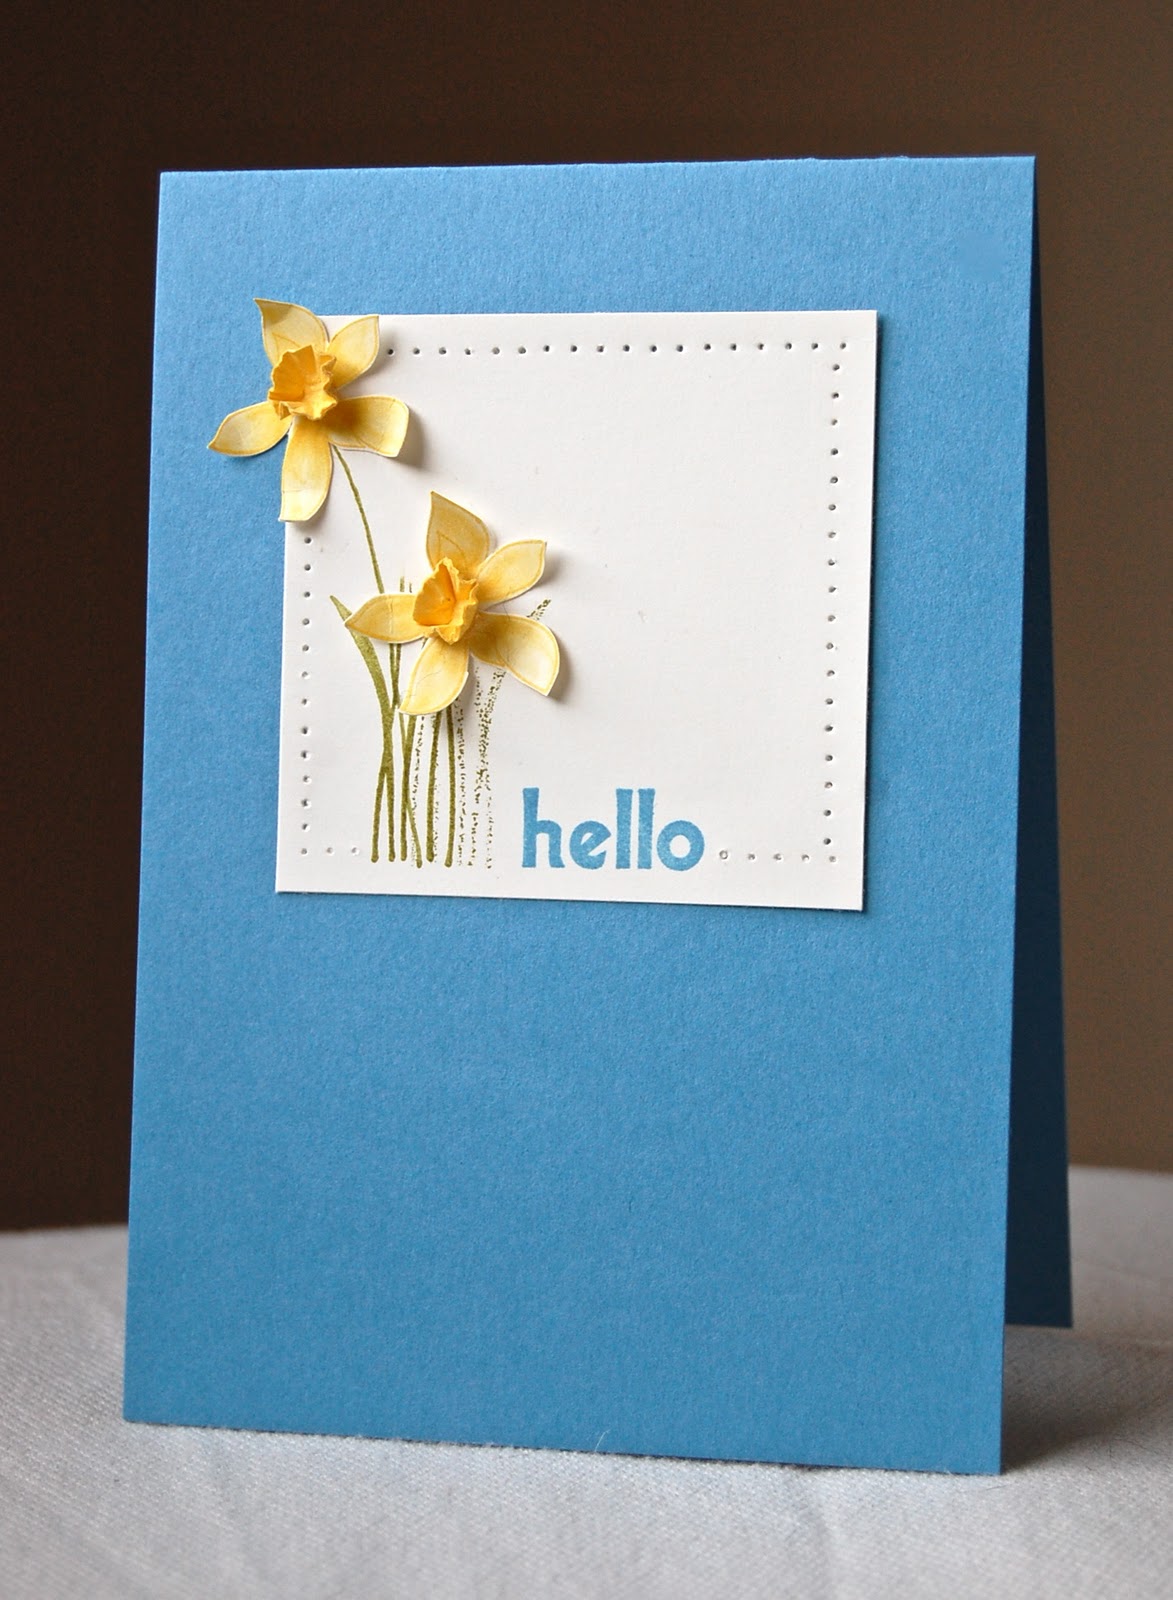
The Happy Birthday stamp from the level 1 hostess set Afterthoughts makes a great bold anchor in the corner of this card and I liked the idea that the coloured hearts had just blown in from the right!


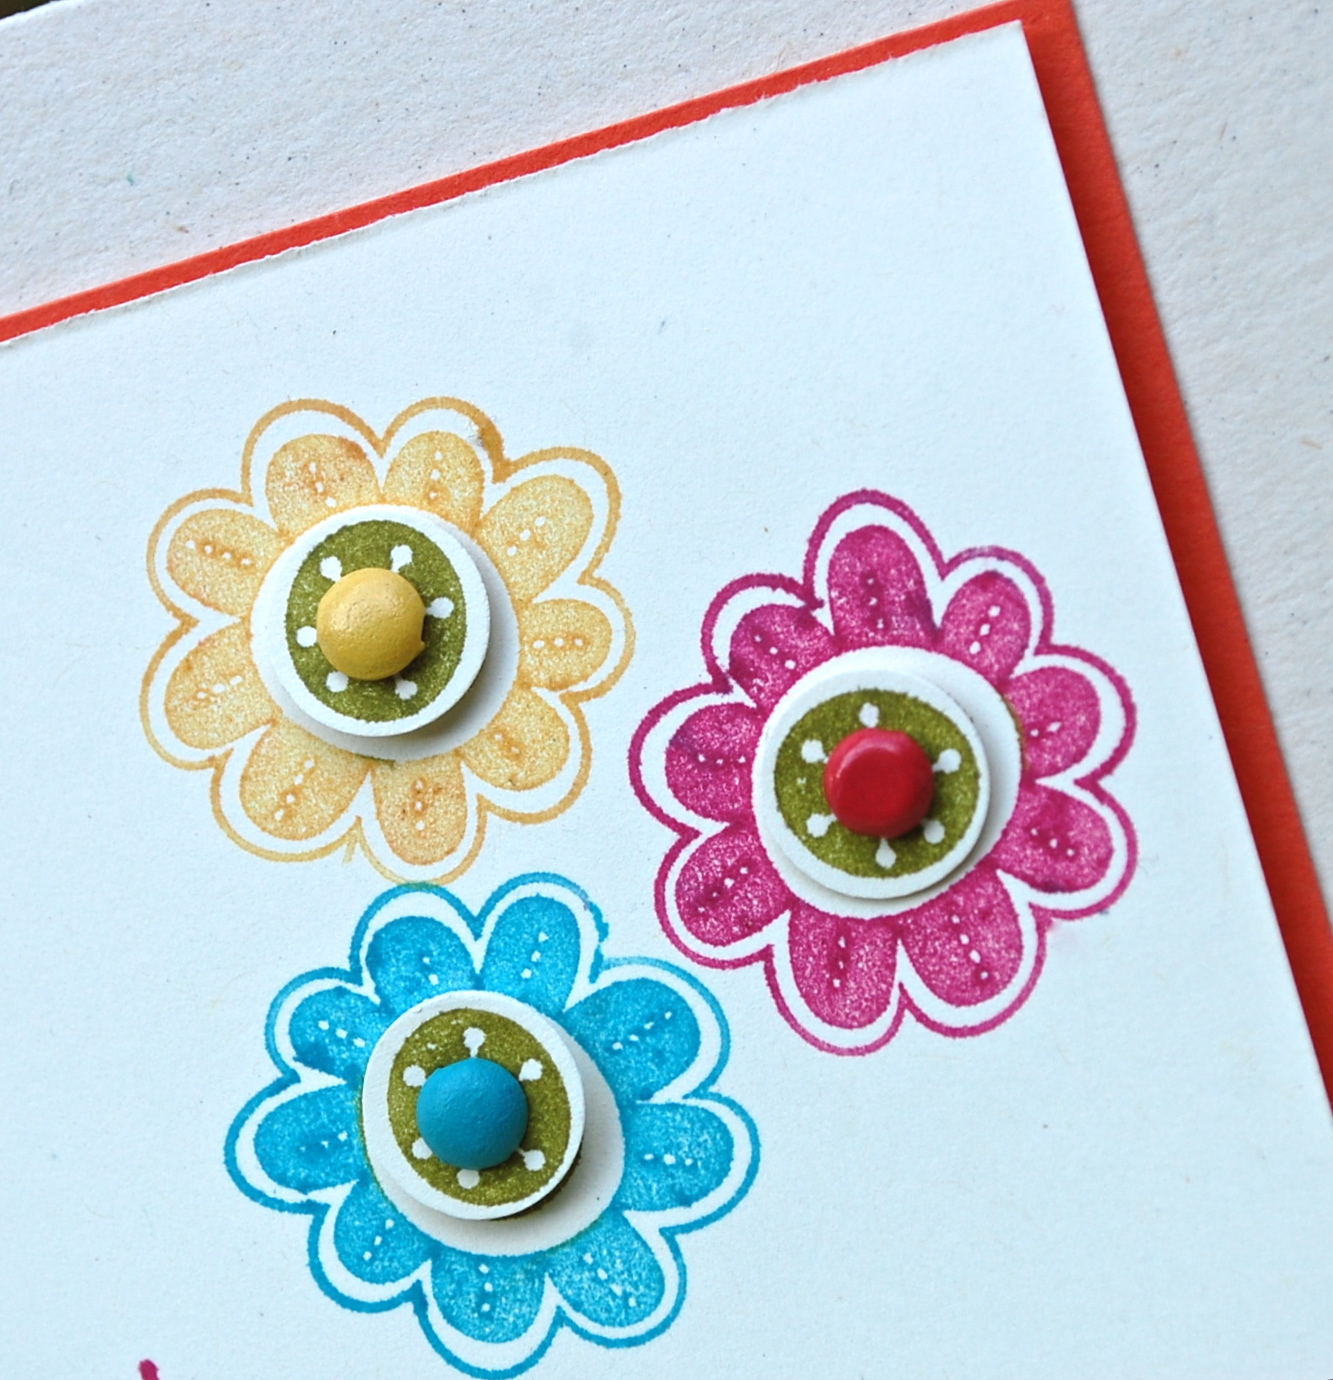
Let's zoom in on those hearts. I love the little bit of texture on this heart stamp!

Now, here's a thought: You may have noticed that there's a fabulous free gift up for grabs this month with an order of £75... but make it an order for £150 and you'll not only get the free gift (worth over £18) but also a free level 1 hostess set (for example the Afterthoughts set that today's sentiment comes from) AND £15 to spend in any of the current catalogues! Definitely worth thinking about!

Supplies needed for this card:
Stamps: Hello Again, Afterthoughts (hostess)
Ink: Assorted
Card stock: Whisper White, Melon Mambo
Other: Stamp-a-majig
You can buy any of these supplies from me and I can have them delivered to your address in the UK. Just send me an email or give me a call on 01280 820593.

I do apologise if you've been thinking I've been a bit lax about commenting on your blogs this week but I'm currently away in Northern Ireland visiting some of my lovely relatives there. I've scheduled my posts this week but next week you'll notice that posts will be a little random to say the least! Don't worry though, I'm still answering email enquiries, taking orders and offering my usual high standard of customer service.

Have a great weekend and I shall see you back here very soon.
Hugs,

Tuesday, 2 August 2011

Hello Again 3D flower

I can't seem to stay away from the Hello Again stamp set now that I've rediscovered it! One of the things that occurred to me while using the heart the other day was that it would make pretty textured petals - so of course I had to have a go at that! Here's what happened:


I've used a favourite colour combination for this card as well as one of my favourite papers from the Nursery Suite designer range. It's a really simple layout too and one I return to often. But come and see the flower:


I stamped six of them in a flower shape on a piece of Very Vanilla card stock, using my stamp-a-majig to position them so that the points of the heart met in the centre. Then I cut out the flower shape using paper snips. I made two of these flowers for the bottom two layers. The next layer used five hearts and the top layer used three. They are glued together and finished with a button in the centre. Look how dimensional this flower is! Hmmm - I'm just thinking now, it would also look gorgeous clear-embossed for a glossy-petalled look.


The flower was stamped with Pumpkin Pie and Peach Parfait inks but I used Cajun Craze to give the sentiment more prominence. That 'Thanks' is amazing isn't it? It's part of another sentiment from my favourite hostess set Afterthoughts.

Supplies needed for this card:
Stamps: Hello Again, Afterthoughts (sentiment)
Ink: Pumpkin Pie, Peach Parfait, Cajun Craze
Card stock: Very Vanilla
Other: Nursery Suite designer paper, Pumpkin Pie 5/8" grosgrain ribbon, Old Olive button, linen thread, corner rounder
You can buy any of these supplies from me and I can have them delivered to your address in the UK. Just send me an email or give me a call on 01280 820593.

I have now nearly lost my voice, thanks to some nasty cold and sore throat, and my household are delighted with me! Who'd have thought I could be so entertaining with my ridiculous attempts to speak?!

Hmmm. I'm off for some lemon, ginger and honey tea. Hope to see you tomorrow for more crafting fun!

Saturday, 30 July 2011

A fruity hello!

I'm sneaking in very quickly today with a quick card for this week's Less is More challenge where Chrissie and Mandi are asking for fruity cards. I have trips to pack for, birthdays to organise, workshops to prepare for... and the last thing I should be doing is making cards! Fellow LiMettes will understand I'm sure - I couldn't miss it could I?!!

When I think of fruit, the Tart and Tangy stamp set springs to mind and, since my frazzled brain couldn't decide which of the yummy fruit to choose, I've made a fruit salad! Come and see:


The sun is out here in Buckingham today so I thought I'd go bright and zingy with a Tempting Turquoise card base! I stamped the fruit, cut them out (punches make this quick and easy), chopped some of them up and arranged them in a border.


Here's a close-up which I've just realised is a bit blurry! (Sorry - I've lost my turbo glasses and am having to make do with some really weak ones that mean I keep bumping into things!) The 'hello' is from the Hello Again stamp set which happened to be out on my desk.


Supplies needed for this card:
Stamps: Tart and Tangy, Hello Again
Ink: Peach Parfait, Pear Pizzazz, Rich Razzleberry, Real Red
Card stock: Tempting Turquoise, Pumpkin Pie, Whisper White
Other: Markers
You can buy any of these supplies from me and I can have them delivered to your address in the UK. Just send me an email or give me a call on 01280 820593.

Okay, fun over. Just off to clear up, make a birthday cake, wrap some prezzies... my boy's turning into a teenager tomorrow. He shares a birthday with Harry Potter - how cool is that?! Once, at the beginning of Potter mania, he came to me and told me that he was having a lot of difficulty seeing things. Things seemed quite blurred he said, looking at me with his enormous blue eyes. I immediately whisked him off to the opticians where the first inkling I had that he wasn't being entirely truthful was when he headed straight for the Harry Potter display and gazed wistfully at the round spectacles. When the optician brought him out she seemed quite worried. "He tells me that his vision is quite blurred but I've done all the tests and can't find a thing wrong," she said. I'm sure I went right down in her esteem when I said airily that I expected he would grow out of it and beat a hasty retreat!

I'm really looking forward to seeing everyone's fruity creations this week, but that will have to wait until I've got my chores done!  I'll be back here on Monday with a masculine card - my son's birthday card of course! See you then,

Thursday, 28 July 2011

Three Minute Thursday - Hello Again birthday

Yesterday I showed you a bright birthday card I made using Hello Again. Well I had so much fun making that card that I carried on experimenting with the set and today's three minute card was born! Come and see:


Have I mentioned before how much I love this Naturals Ivory card stock? I adore it and was really pleased with the way it looks with the bright colours I used for the stamped images.


This Happy Birthday sentiment has to be one of my most frequently used stamps this year. It's from a level 1 hostess set called Afterthoughts which you can choose as a free gift with an order of £150 (that can be a group order or a single order - AND you get to choose other free products as well!) Anyway, I stamped the sentiment in Melon Mambo and then coloured the flower stamp with markers and stamped that next to it, elongating the stem with a Pear Pizzazz marker. The centre is popped up like yesterday's and is decorated with a self-adhesive rhinestone this time.


This card took a little bit longer but I thought I'd show you anyway. I didn't use my stamp-a-majig for this one and the flower ended up too far to the left, so I thought I'd rescue it by adding another flower (using the stamp-a-majig this time!) Let that be a lesson to me!


This photo shows how dimensional those flower centres are. TIP: The flower stems are extended with a marker and then a dashed line is added over the top which really helps to blend the extension.


Supplies needed for this card:
Stamps: Hello Again, Afterthoughts (hostess)
Ink: Melon Mambo
Card stock: Naturals Ivory
Other: Brights markers, Itty Bitty Shapes circle punch, Basic Rhinestones, corner rounder, stamp-a-majig
You can buy any of these supplies from me and I can have them delivered to your address in the UK. Just send me an email or give me a call on 01280 820593.

For those that are wondering, here's an update on my son's ice cream jar. He got his dad to help him chisel a slot in the lid, wrote a message on a sticky label and decorated it with these cute ice creams - aren't they cute?! To make the cones he stamped a few criss-cross pattern stars from Seeing Stars and cut just the 'arms' of the stars out with the star punch. (I think I might've just broken the record for how many times you can get the word 'star' into a sentence there!) The ice cream scoops are cut from coloured card stock and punched out with the circle from the Itty Bitty Punch pack. He was very particular about which colours to use and told me in great detail what flavours they were and how they tasted. He then scandalised me by collaring my friend who'd popped round and getting her to donate to his ice cream fund, maintaining throughout the look of a child who has suffered great deprivation and never tasted ice cream in his life!

Thank you for popping in today - I always appreciate your visits and your comments. Are you around tomorrow? I'll be in summer wedding mood and I do hope you can join me for that!

Wednesday, 27 July 2011

Hello again!

I love the sketch over at Clean and Simple Stamping this week and found it just the thing for a card for my niece's birthday. It was also fun to use a stamp set that I've had for ages but haven't used that much - Hello Again. I've no idea why I haven't used it much because I had great fun with it today, so I've no doubt you'll be seeing some more of it here pretty soon!

Come and see what I've made:


The card base is Naturals Ivory with Whisper White for the central panel to provide contrast. I was really pleased with the border which is made with Retro Remix, the wheel that coordinates with Hello Again. I loaded it up with Sahara Sand ink and wheeled it across the card front, then coloured bits of it with my watercolour pencils. I love the vividness of the coloured pieces against the buff of the card stock!


Look - here's a close-up. That sentiment is made from two stamps in So Happy For You, one of this year's Sale-a-bration sets. They really do get some use don't they?!


I used just the flower heads to make these cute flowers. The centres have been stamped again on a scrap of card stock, cut out with the circle punch from Itty Bitty Shapes punch pack and popped up in the centres of the stamped flowers. Each flower was pierced with my paper piercer and decorated with a coloured brad. I loved using these bright colours today!


Supplies needed for this card:
Stamps: Hello Again, Retro Remix wheel, So Happy For You (sentiment, retired)
Ink: Sahara Sand
Card stock: Naturals Ivory, Whisper White, Tangerine Tango, Old Olive
Other: Brights markers, watercolour pencils, Scallop border punch, Itty Bitty Shapes circle punch, Brights brads
You can buy any of these supplies from me and I can have them delivered to your address in the UK. Just send me an email or give me a call on 01280 820593.

Have you noticed how men often communicate in monosyllables? I keep telling my husband it is NOT effective! Here's an example: Last week my teenage daughter kindly offered to pop out to the shop to get something I'd forgotten for dinner and my husband gave her some money to pay for it. When she returned we sat down to dinner and it was only afterwards he remembered he was due some change. "Change!" he said to my daughter as she was gathering her things together to go out to Scouts. "Oh no!" she said reassuringly. "We don't need to wear uniform today because we're having our end of term party, so I thought I'd just wear this!"

Thank you for popping in today. I'll be back tomorrow with a really quick card for Three Minute Thursday. Do come and have a look!

Friday, 25 February 2011

Less is More challenge 3 - daffodils

I have been away this week and most of my posts were prepared in advance, which means I've had severe crafting withdrawal symptoms! So today I thought I'd nip in a card for the challenge over at the brilliant Less is More site. The theme this week is 'spring' and I needed to look no further than my little garden for inspiration! Everything is beginning to blossom, thanks to the sudden appearance of warmer weather, but nothing says spring to me quite like a daffodil.


I don't usually use loads of stamp sets on one card, as I want my readers to be able to recreate them without too much expense, but I did use several on this one - the stems and leaves were from Just believe, the flower from Growing Green and the sentiment was from Hello Again.


I used a Marina Mist card base because it reminded me of the kind of sky you sometimes get in the spring that really gives you a new lease of life! Daffodil Delight is the perfect colour for the daffodil of course, and I love both colours together with a dash of Old Olive.


Have you seen the daffodil? The petals were stamped in Daffodil Delight ink and coloured with a blender pen, while the 'trumpet' was a 1/2" circle of Daffodil Delight card stock, pleated and stuck to the petals with Sticky strip.

Here's how to make this card:

  • Cut an A4 piece of Marina Mist card stock in half vertically. Score and fold in half to make a card base.
  • Cut a 7cm square of Very Vanilla card stock.
  • Colour the stems on the iris stamp with an Old Olive marker. Use a stamp-a-majig to stamp the stems onto the Vanilla card stock.
  • Use the stamp-a-majig again to add the sentiment using Marina Mist ink. 
  • Use a paper piercer and the template from the mat pack to pierce a border round the Very Vanilla panel. Glue the panel to the card front.
  • Stamp the petal image twice onto a scrap of Very Vanilla card stock using Daffodil Delight ink. Colour the flowers with more of the ink and a blender pen and cut them out with sharp paper snips. Stick the centres of them to the stems you stamped earlier and curl the petals towards you.
  • Cut two circles using a 1/2" circle punch and pleat them tightly with your fingers. Attach them to the centre of the petals with Sticky Strip. 

Supplies
Stamps: Just believe, Growing Green, Hello Again.
Ink: Daffodil Delight, Marina Mist
Card stock: Marina Mist, Very Vanilla, Daffodil Delight
Other: Old Olive marker, 1/2" circle punch

Well, I don't know about you but I am very much looking forward to a quiet weekend with my family. Between long car journeys, long hikes, long sleepovers and long lunches, I'm pretty well exhausted and need a holiday to get over my holiday!

Thank you so much for dropping in on my blog today. Don't forget that I'm starting my new weekly series Masculine Monday next week, so do pop back to see what I've been up to for that if you have a minute.

Have a fabulous weekend,

Wednesday, 10 November 2010

Christmas gift - using Hello Again

Today, I thought you might like a look at some little gift sets I'm making for my nieces for Christmas. All you need for these is the Hello Again stamp set, which appeals to all ages, with a couple of markers, some brads and some off-cuts of card stock. Come and see:


I started by making a simple box using Pacific Point card stock cut to 22.5cm x 10.25. (The card stock is scored 2.75cm round each edge, cut in to where the score lines meet on the long sides and assembled.) The box is the perfect size to hold the Hello Again stamp set as well as two markers, some card stock and embellishments. I cut Pacific Point, Pumpkin Pie and Old Olive card stock to 4cm x 8cm and some Whisper White cut to 3.5cm x 7.5cm. They fit nicely in the bottom of the box - the ingredients for some tags or card toppers. The brads were popped into a tiny cello bag, sealed and attached to a piece of Pacific Point card stock cut to 5cm x 5.25cm and scored down the longer side at 2.25cm and 2.75cm.


Here's everything tucked neatly into the box. I made a sleeve for the box using a medium Window Sheet cut to 19cm x 17.5cm. Scoring down the short side, I scored at 3cm, 8cm, 11cm and 16cm and folded the edges crisply. I secured the sleeve with a length of Sticky Strip and slid it over my box matchbox-style.


Here's the box decorated with a length of Old Olive 1/8" taffeta ribbon. This can be used to make the tags inside or embellish cards - how fab is that?!


To give the gift a festive feel, I stamped the snowflake from Season of Joy in Pacific Point ink on a scrap of Whisper White and attached it to the ribbon with a piece of silver elastic cord.

Supplies
Stamps: Hello Again (inside gift), Season of Joy (to decorate gift)
Ink: Pacific Point
Card stock: Pacific Point, Whisper White plus scraps for inside the gift
Other: Medium window sheet, 1/8" taffeta ribbon in Old Olive, silver elastic thread

I think that girls of all ages would be thrilled to receive this little gift box and it doesn't break the bank either! The Hello Again stamp set is only £10.95 for a set of 5 and the markers are £2.95 each. To order any of these items just send me an email - I now take credit card payments as well as Paypal, bank transfer, cash and cheque.

Lots of people have been asking me what happened on the way back from convention at the weekend. Well, poor Michelle's car broke down and we found ourselves stranded by the side of the road awaiting a tow truck. We were very tired and should have been rather miserable - but how can you be miserable with great company and chocolate? The AA man was astonished (and, I think, slightly scared!) when he turned up to find us giggling away, having a great time in the abandoned vehicle!

Thanks for visiting me today.
Hope to see you tomorrow for another Three Minute Thursday.
Happy crafting!