Hello and welcome to another blog hop brought to you by the official Stampin' Up Artisan Design Team. It's my last outing with the team but many of my team-mates will be continuing to inspire you each week so make sure you bookmark their blogs won't you!
BUTTERFLIES ON THE WALL
This week the whole team will be featuring the fabulous Watercolour Wings photopolymer stamp set so you really are in for a treat! My own project was inspired by those wonderful home decor pieces in the shops at the moment - no need to buy those when they're so simple to make at home! Come and see:

I used the smaller butterfly from Watercolor Wings to create this artwork. Forget two step stamping, you can layer these babies up in five steps, which makes them very detailed indeed :) You can even add extra detail with markers as I did here to truly customise your butterflies.

You'll need a frame with a recess, sometimes called a shadow frame. Mine was from Marks and Spencer, but I know Ikea do inexpensive similar frames. Colourwise, it's best to stick to a theme - for example, my butterflies all started with a Crushed Curry base and I've built them up with blues, greens and oranges.

In this close-up you can see how each butterfly is resting on a die-cut. I used the small, lacy butterfly from the Bold Butterfly framelits to cut these out of Typeset speciality designer paper.
So what do you think?! I hope I've inspired you to make your own piece of butterfly artwork for your home or to give as a gift. Now it's time to see what the rest of the team has been up to. Click the button below to carry on the blog hop with the fab Allison Okamitsu!

BUTTERFLIES ON THE WALL
This week the whole team will be featuring the fabulous Watercolour Wings photopolymer stamp set so you really are in for a treat! My own project was inspired by those wonderful home decor pieces in the shops at the moment - no need to buy those when they're so simple to make at home! Come and see:

I used the smaller butterfly from Watercolor Wings to create this artwork. Forget two step stamping, you can layer these babies up in five steps, which makes them very detailed indeed :) You can even add extra detail with markers as I did here to truly customise your butterflies.

You'll need a frame with a recess, sometimes called a shadow frame. Mine was from Marks and Spencer, but I know Ikea do inexpensive similar frames. Colourwise, it's best to stick to a theme - for example, my butterflies all started with a Crushed Curry base and I've built them up with blues, greens and oranges.

In this close-up you can see how each butterfly is resting on a die-cut. I used the small, lacy butterfly from the Bold Butterfly framelits to cut these out of Typeset speciality designer paper.
SPECIAL OFFER
Buy the Watercolor Wings stamp set with the Bold Butterfly framelits and save 15%!

So what do you think?! I hope I've inspired you to make your own piece of butterfly artwork for your home or to give as a gift. Now it's time to see what the rest of the team has been up to. Click the button below to carry on the blog hop with the fab Allison Okamitsu!
Click on any item to be transported to my online shop!


If you have any queries, or prefer to speak to me, I'm happy to help.
Before I go today, I just have to share this stunning photo by Candice Sedighan whose work has been inspired by her wonderful Golden Retriever, Champ.

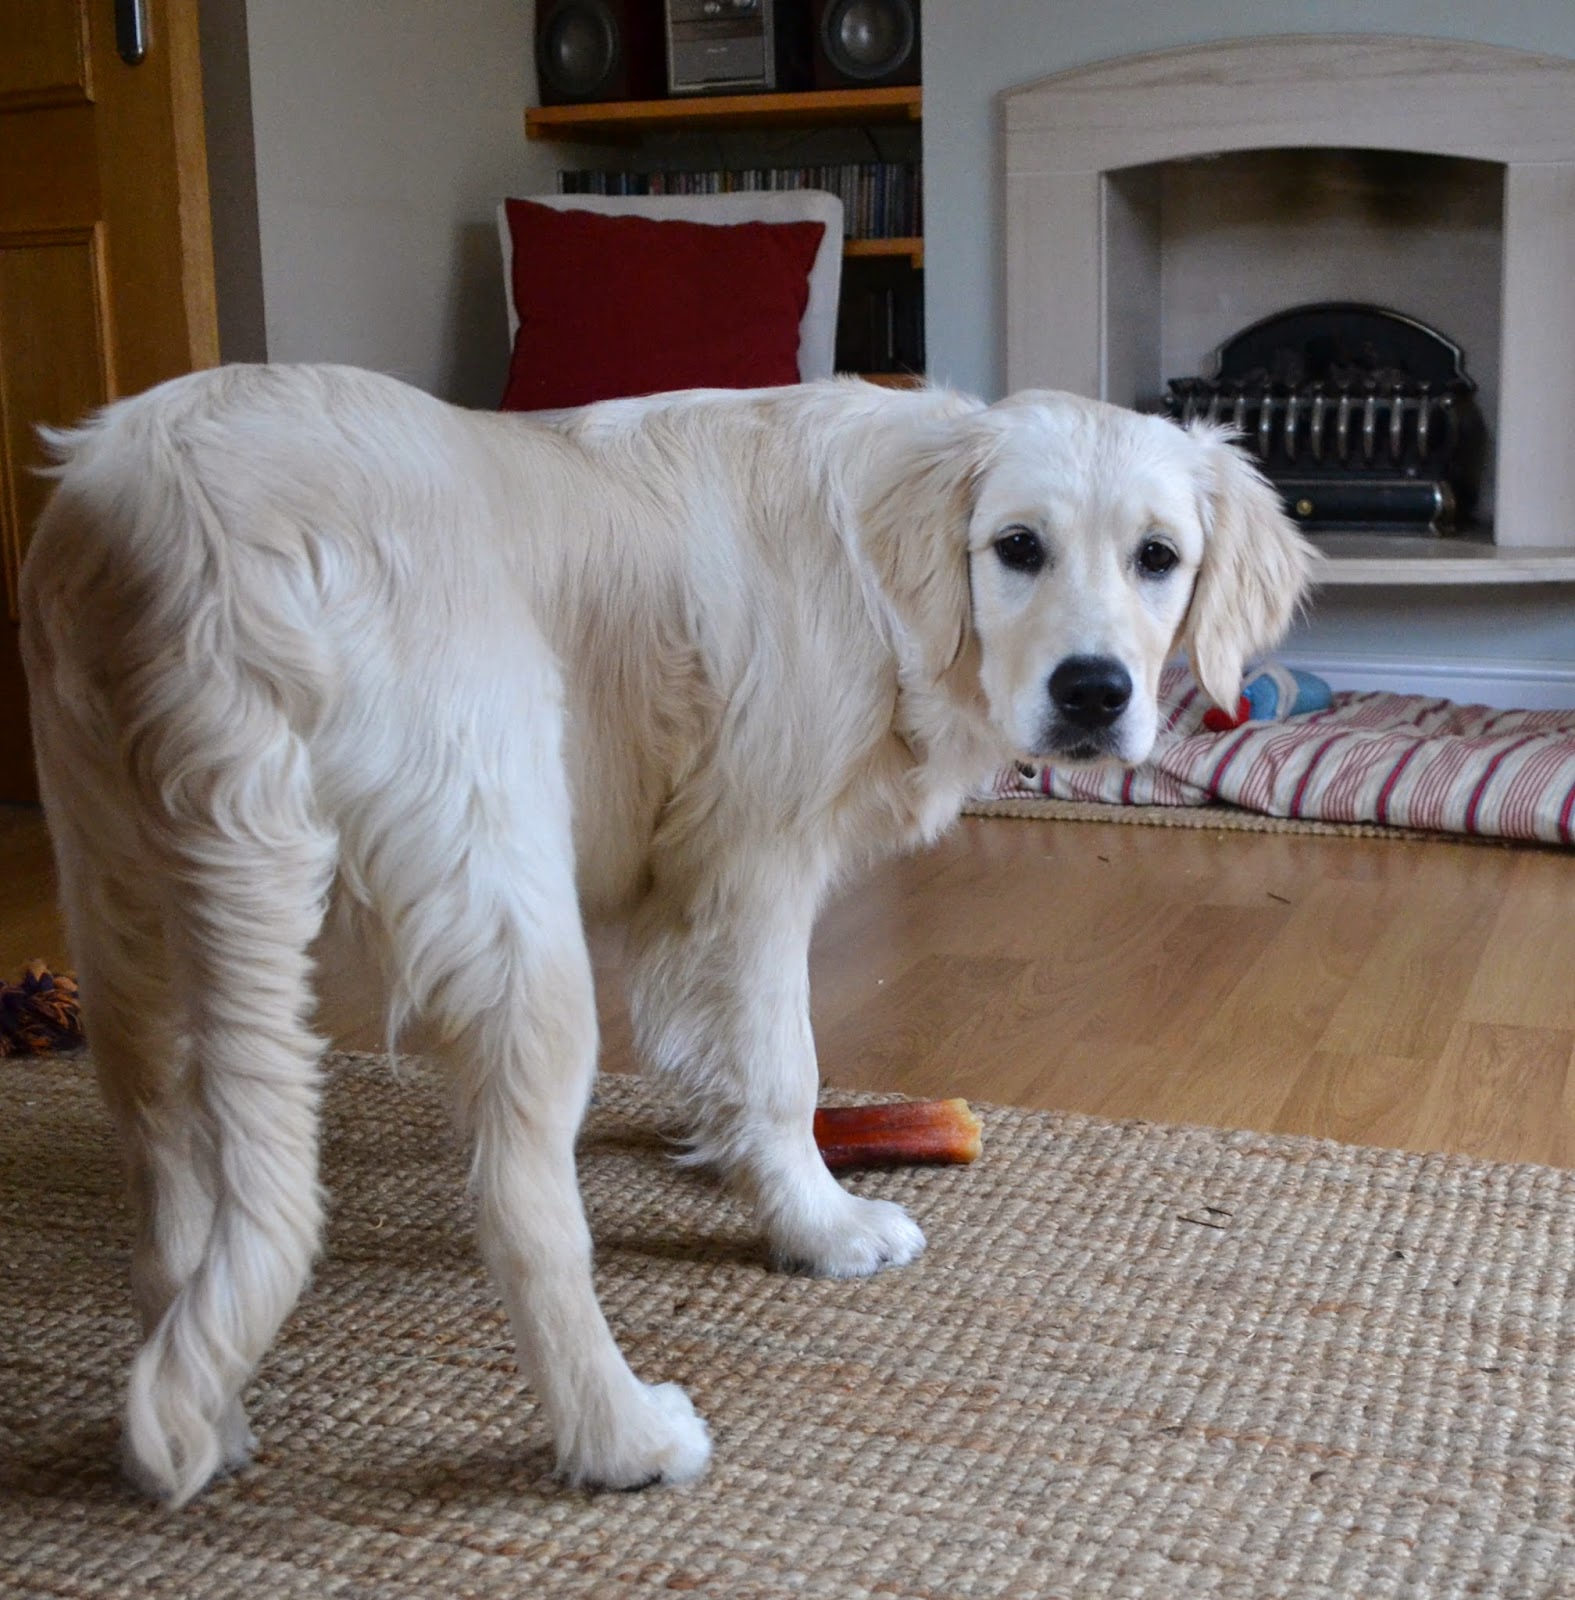
How adorable is that?! No matter how many sit-stays we practise, I can't imagine Eva sitting still, gazing soulfully into the distance while I take a photo of her with a cheeky butterfly on her nose! See more of Candice's amazing photos and find out more about her here.
I'll be back tomorrow for the very last time so do pop in to say goodbye won't you.
Hugs,